FrontISTR / Getting Started
Getting Started
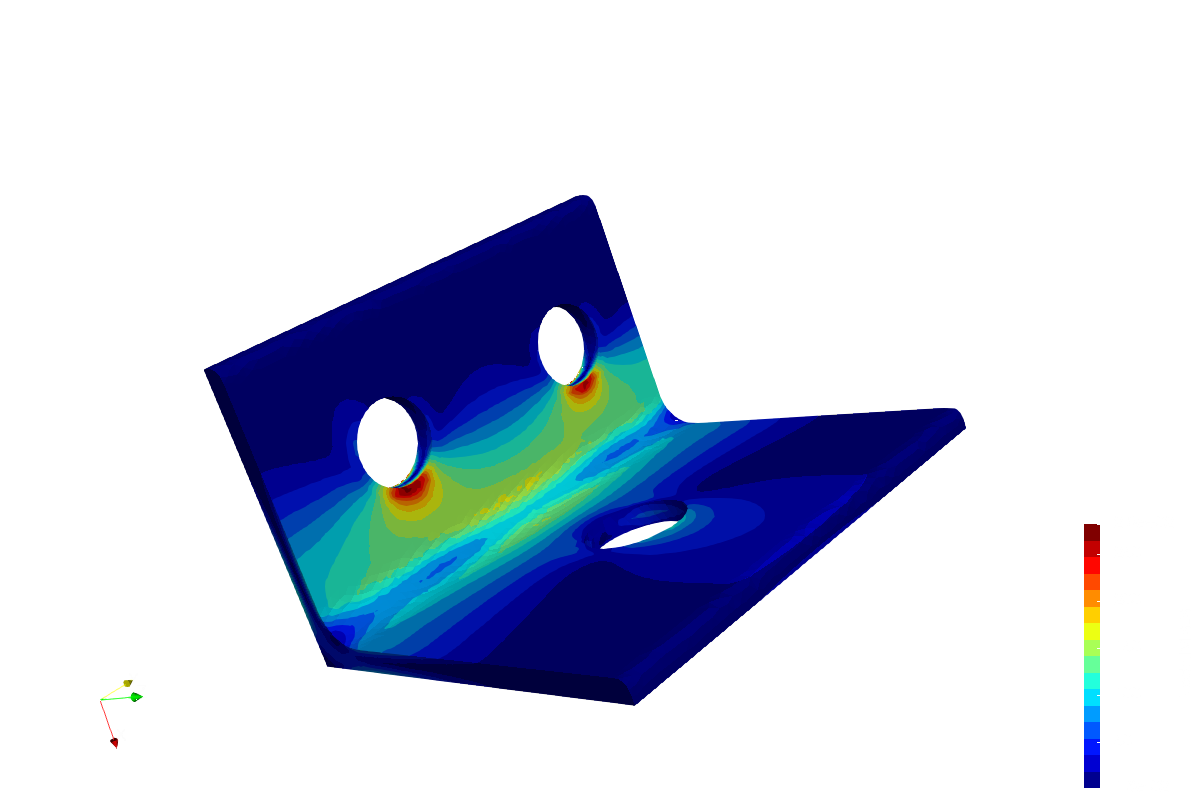
Run a hinge analysis with FrontISTR, then explore the stress distribution in ParaView. Download the solver and a ready-made example: no meshing is needed for this first run.
01
Get the solver
Choose the Windows binary or the Docker image, which can be used on Windows, macOS and Linux.
Windows (64-bit)
Extract the ZIP. After preparing the example in the next step, copy fistr1.exe and all its accompanying DLLs into the example folder (01_elastic_hinge).
Docker (Windows / macOS / Linux)
Start Docker, then run this command in a terminal. On Windows, use Docker in Linux container mode and run the command in PowerShell.
docker pull --platform linux/amd64 registry.gitlab.com/frontistr-commons/frontistr/fistr1:masterThe current official image is built for amd64. On Apple Silicon Macs it runs under emulation and may take longer.
Build from source
You can also build FrontISTR from source on any of these operating systems. Once compilers and the required libraries are installed, CMake detects your environment and configures the build.
Install the basic tools using the commands for your distribution below. Use your existing development environment without adding MPI or other optional libraries.
Ubuntu / Debian
sudo apt-get update
sudo apt-get install build-essential cmake git gfortran
RHEL / Rocky Linux / AlmaLinux
sudo dnf install gcc gcc-c++ gcc-gfortran make cmake gitThe following commands build and install on macOS and Linux. Executables go into bin under your home directory, so installation needs neither sudo nor PATH changes. See the build guide for macOS/Windows setup and optional libraries.
git clone https://gitlab.com/FrontISTR-Commons/FrontISTR.git
cd FrontISTR
cmake -S . -B build -DCMAKE_BUILD_TYPE=Release -DCMAKE_INSTALL_PREFIX="$HOME"
cmake --build build --parallel
cmake --install build
Run the bundled example without downloading it again. Run the commands below, then continue to step 04 to view the result in ParaView.
cd tutorial/01_elastic_hinge
"$HOME/bin/fistr1"The binaries and container use the continuously updated master / LATEST versions. See the download page for tagged releases and other environments. Other versions and environments
02
Download the example
Download and extract the example ZIP. Use the three input files in the 01_elastic_hinge folder.
Run the analysis in the extracted 01_elastic_hinge folder. The macOS/Linux extraction command uses unzip.
01_elastic_hinge/
hecmw_ctrl.dat- Input and output file locations
hinge.cnt- Materials, loads, restraints and analysis settings
hinge.msh- The hinge mesh
To use the command line, run the entire block below from the location where you want to keep the example. It downloads and extracts the archive, then enters the example folder. Continue with the analysis command in the same terminal.
Windows / PowerShell
curl.exe -fL -o 01_elastic_hinge.zip https://www.frontistr.com/sys/files/01_elastic_hinge.zip
if ($LASTEXITCODE -eq 0) {
  Expand-Archive -Path 01_elastic_hinge.zip -DestinationPath . -ErrorAction Stop
  cd 01_elastic_hinge
}
macOS / Linux
curl -fL -o 01_elastic_hinge.zip https://www.frontistr.com/sys/files/01_elastic_hinge.zip &&
unzip 01_elastic_hinge.zip &&
cd 01_elastic_hinge
03
Run from the example folder
Run the analysis in the example folder, 01_elastic_hinge. Check that hecmw_ctrl.dat is in that folder.
Windows binary
Double-click fistr1.exe in the example folder. Keep its accompanying DLLs in the same folder. If the window closes when the run ends, open the results written to the example folder in ParaView.
To inspect the log
If the window closes immediately without producing results, or you want to inspect the log, open PowerShell in the example folder and run:
.\fistr1.exeDocker (Windows / macOS / Linux)
docker run --rm --platform linux/amd64 -v "${PWD}:/work" -w /work registry.gitlab.com/frontistr-commons/frontistr/fistr1:master fistr1Open a terminal (PowerShell on Windows) in the example folder and run the command. It mounts that folder at /work in the container. Results are saved in your local example folder.
When running in a terminal, this message at the end of the log confirms that the analysis has finished. Run time depends on your PC.
FrontISTR Completed !!If something goes wrong
If input files cannot be found, check that you are running from the 01_elastic_hinge folder. On Windows, check that fistr1.exe and all its accompanying DLLs have been copied into that same folder.
04
Open the result in ParaView
Install ParaView. Choose File → Open and select this file in the example folder.
hinge_vis_psf.0001.pvtuResults are written to the same 01_elastic_hinge folder. Keep the neighbouring hinge_vis_psf.0001 folder: do not move the .pvtu file on its own. 0000 is the initial state; 0001 is the loaded result.
Screenshots: ParaView 6.1.0 on macOS. The basic steps are the same on Windows and Linux.
-
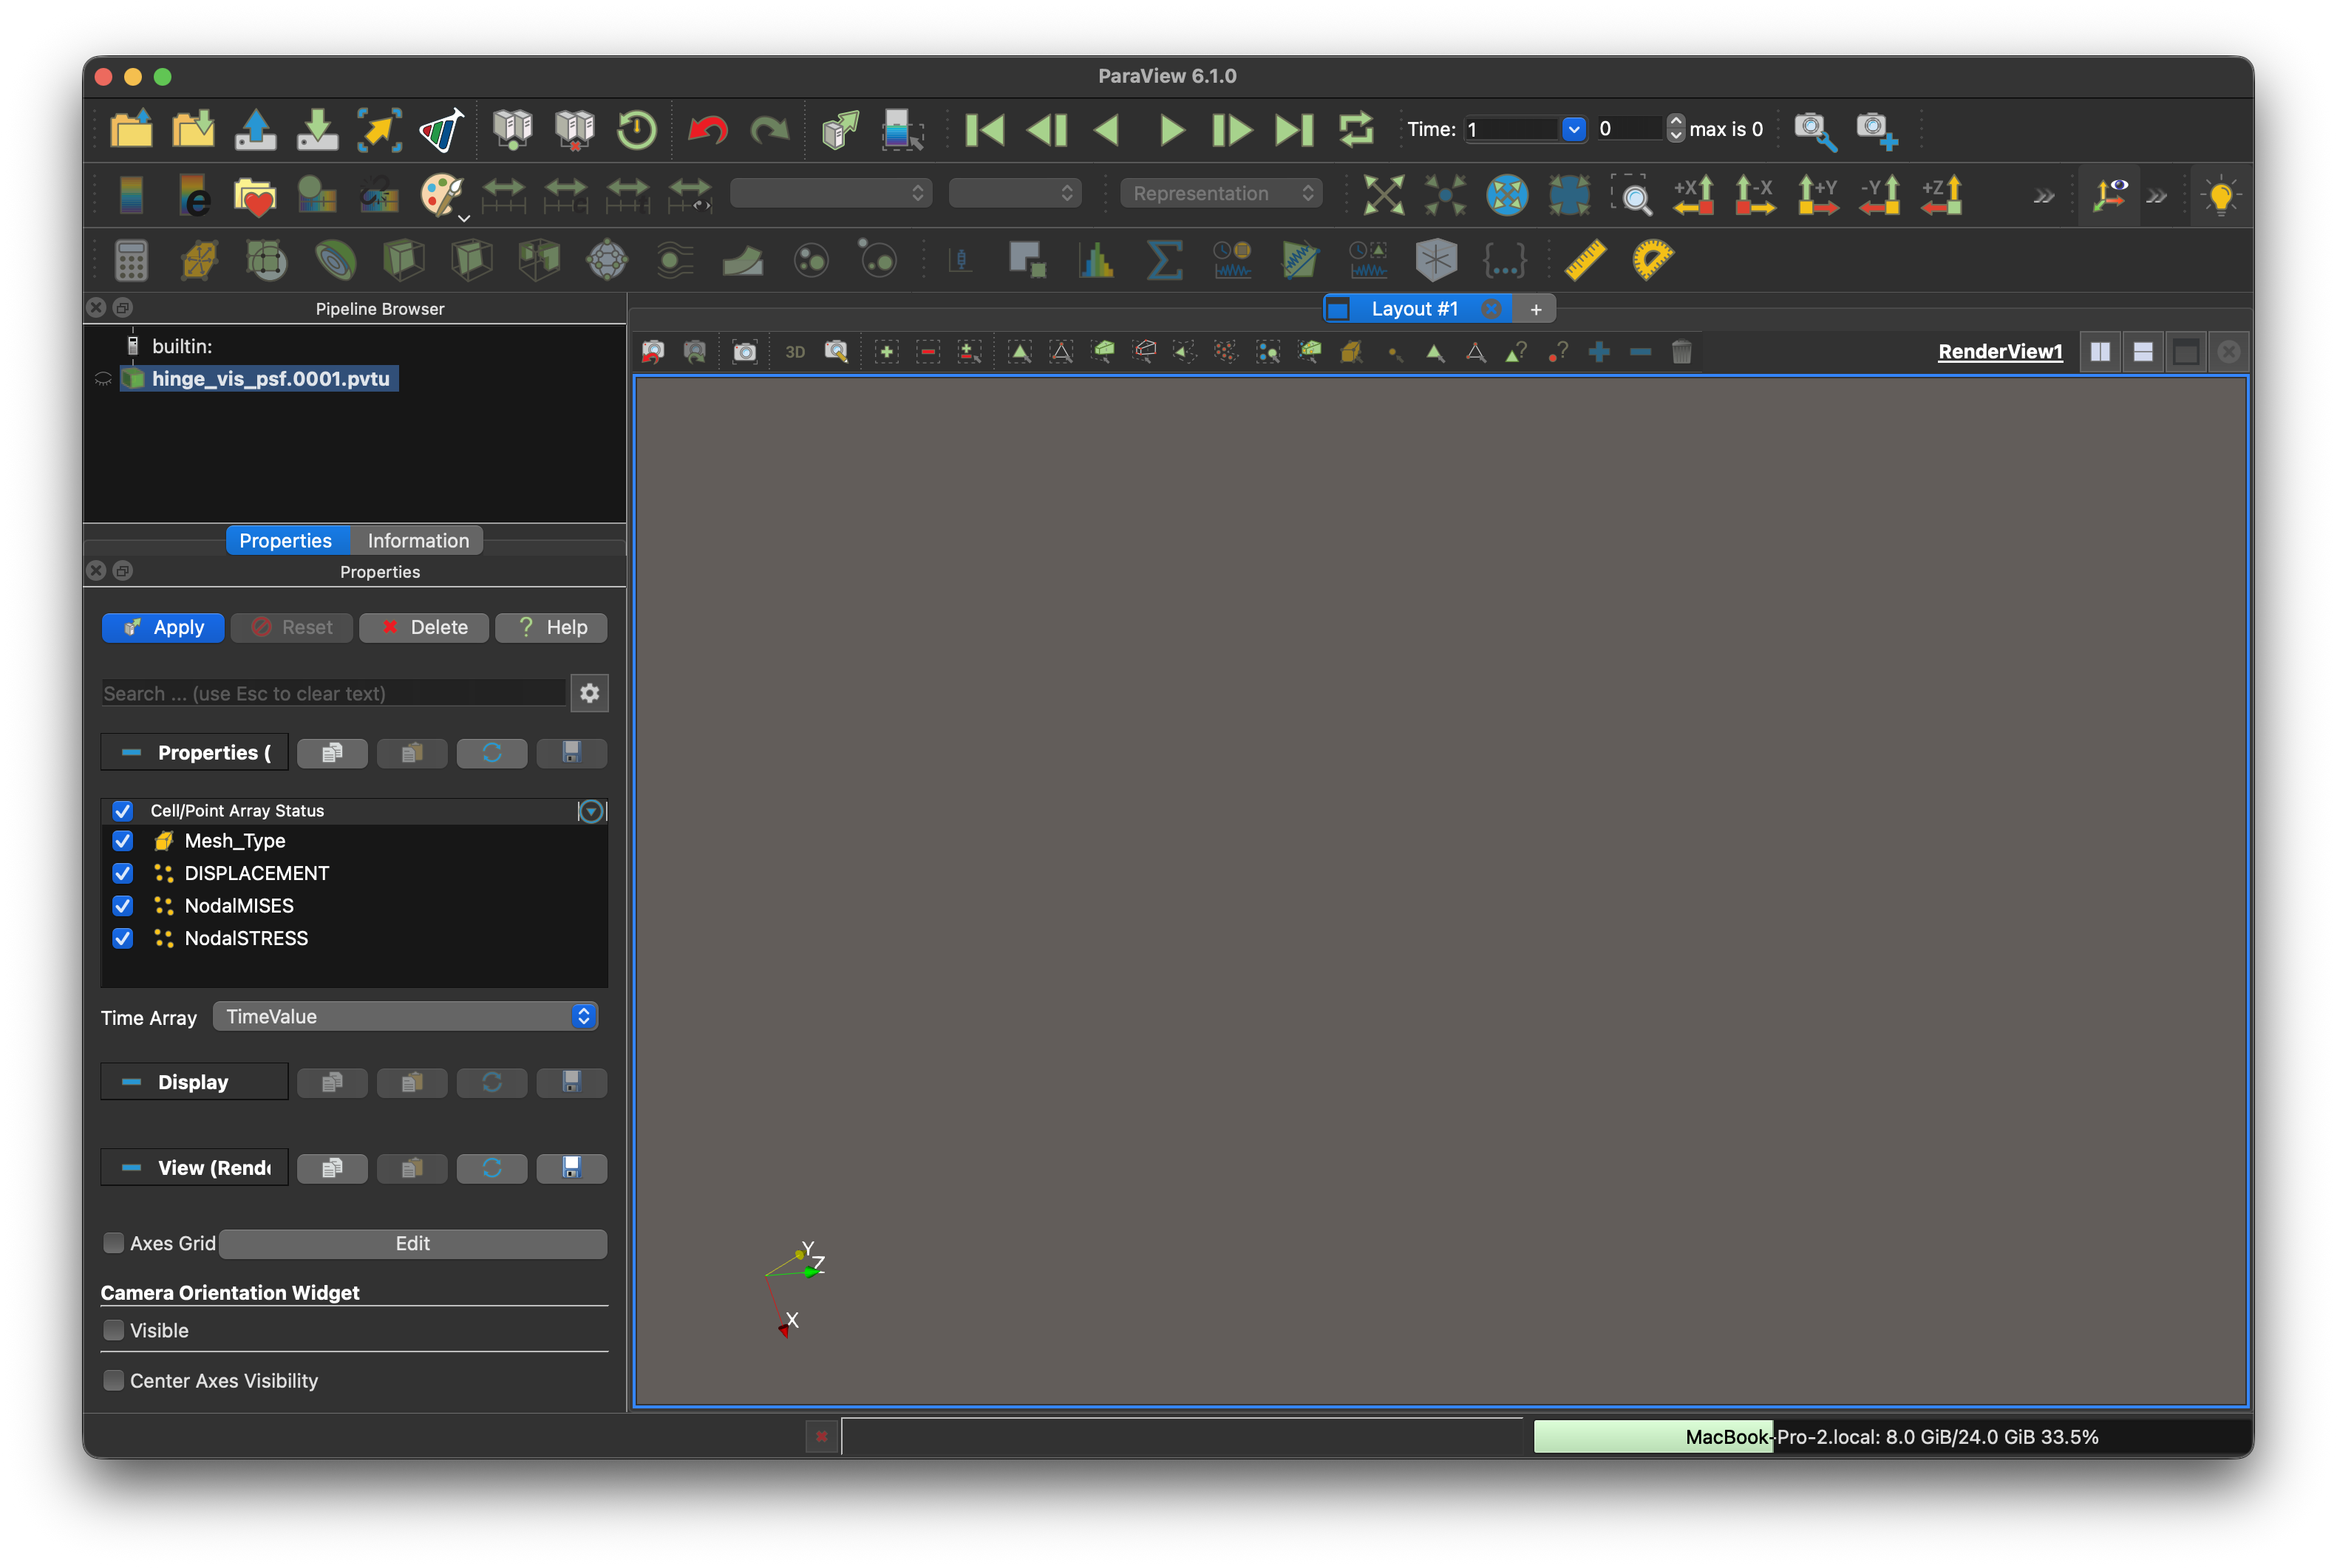
04 / 1
Just after opening the file. Click Apply on the left.
-
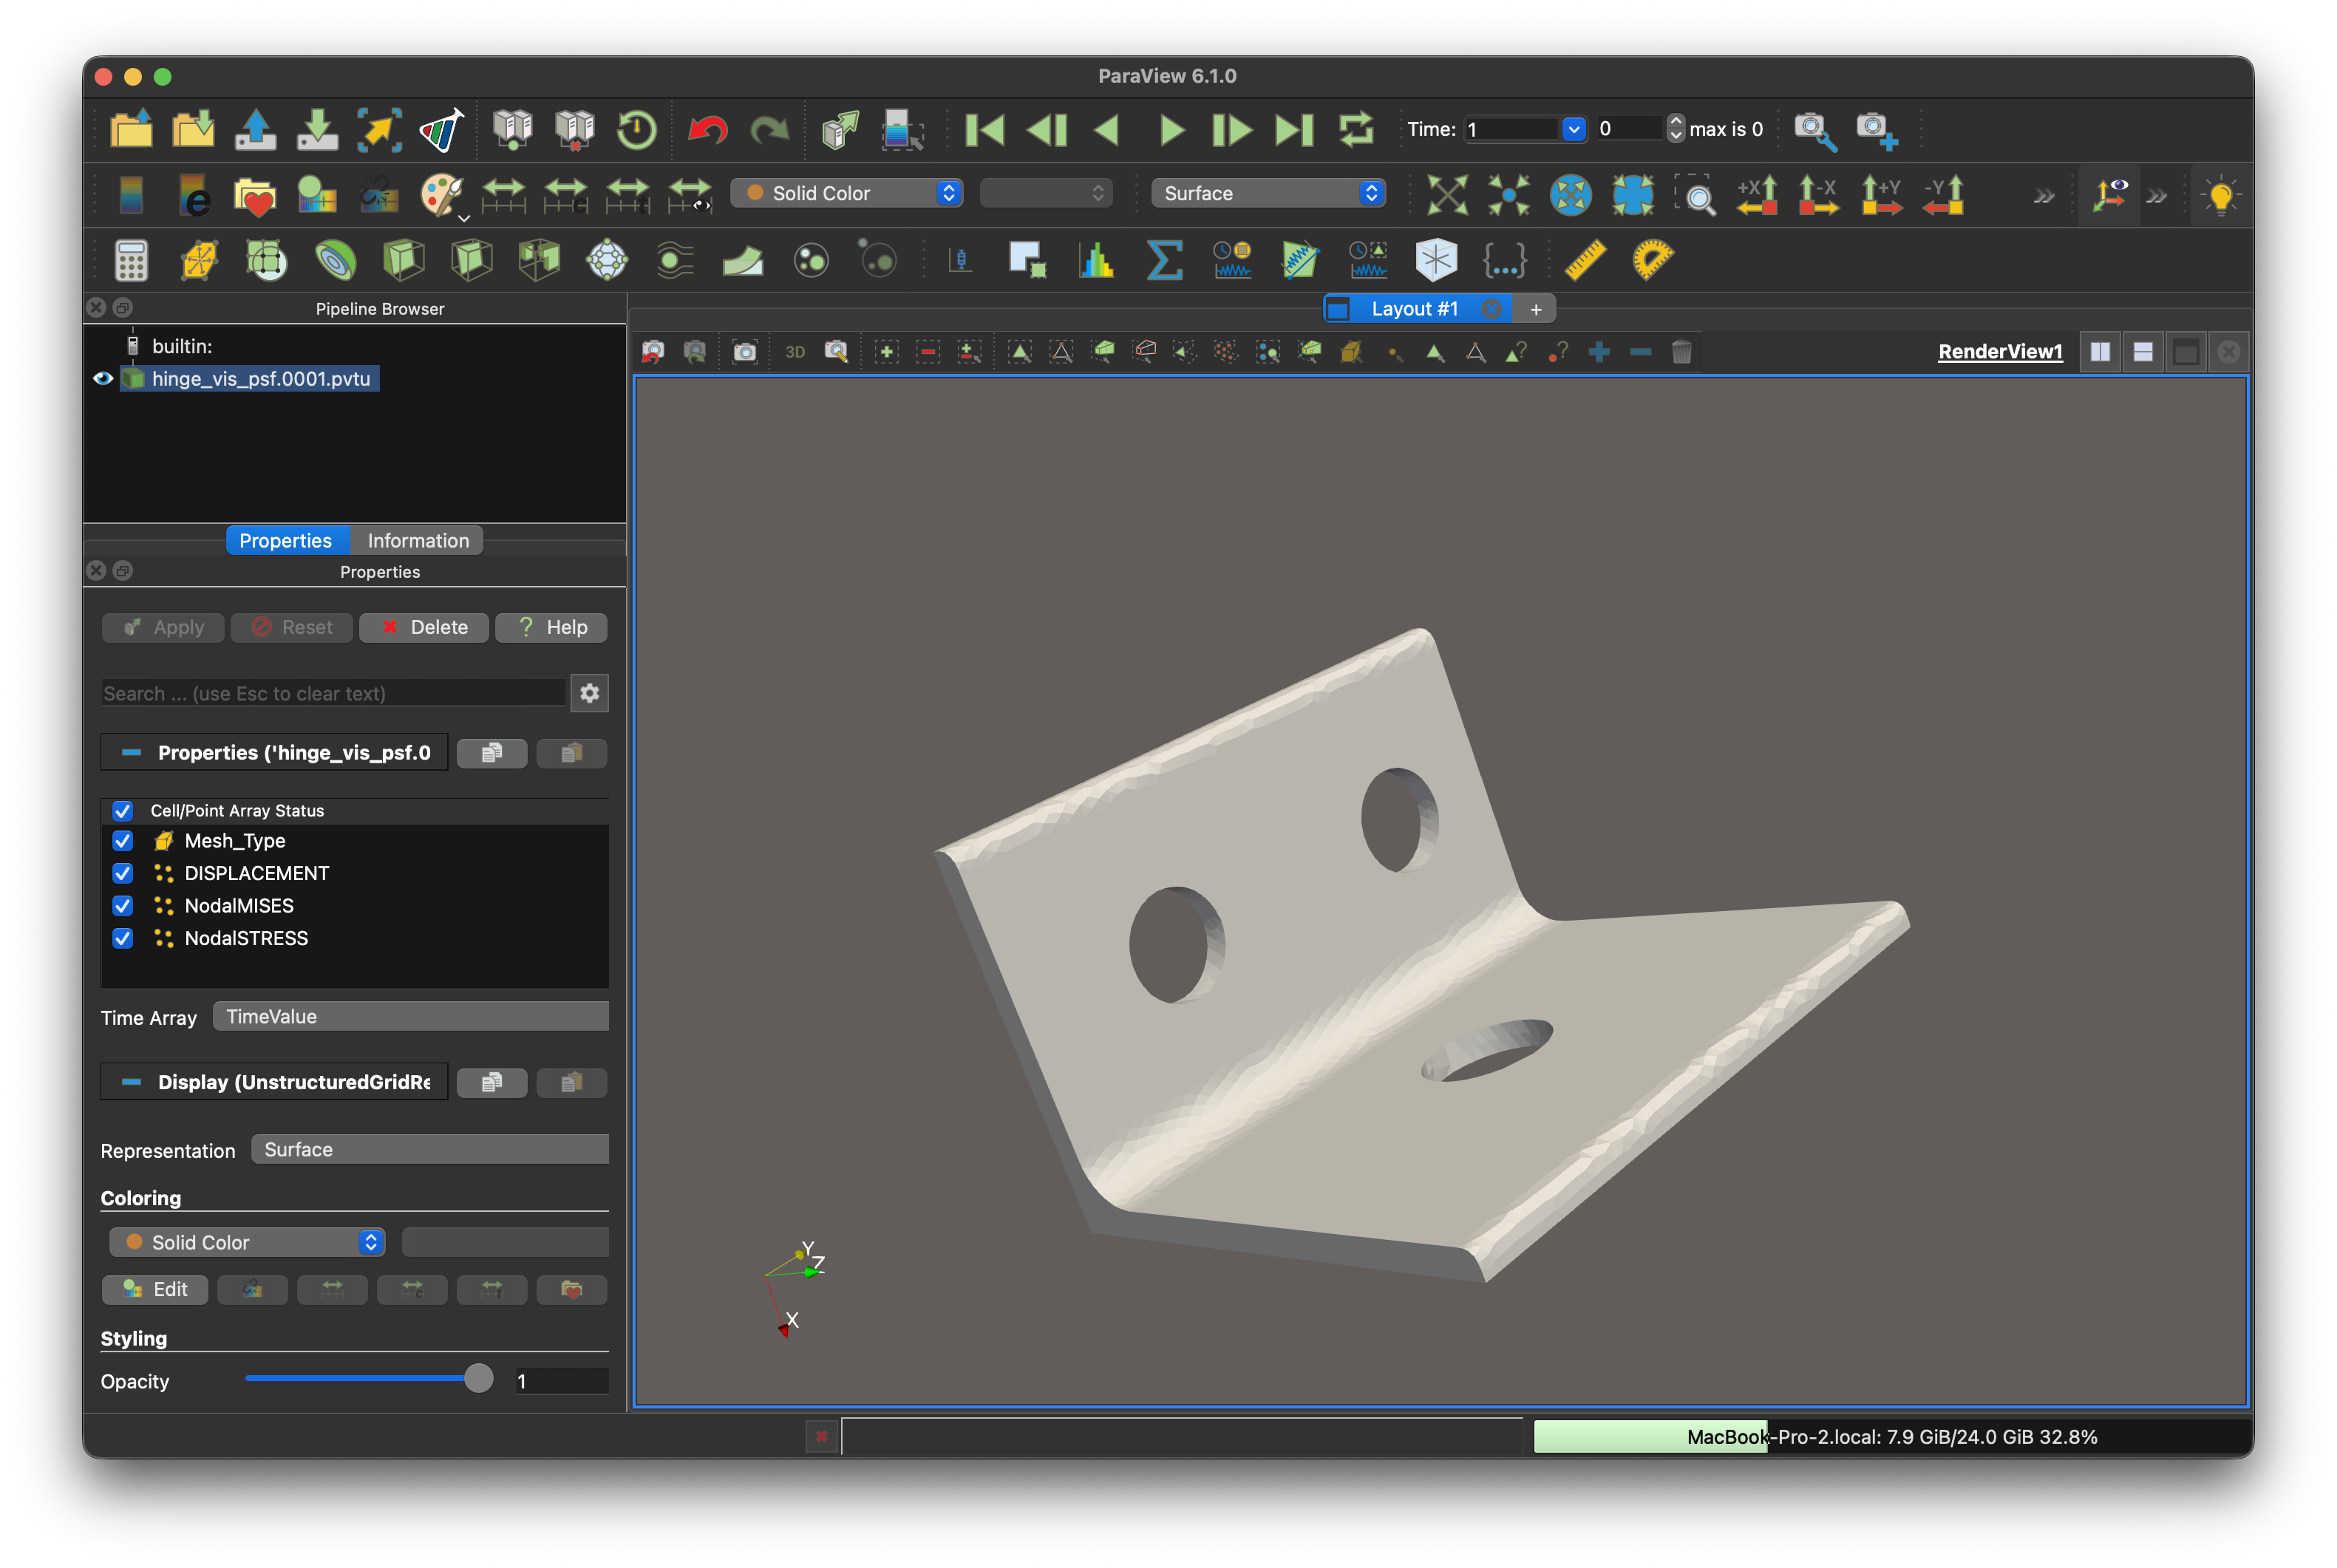
04 / 2
The hinge geometry appears after you click Apply.
-
04 / 3
Change Solid Color in the top toolbar to NodalMISES to display the von Mises stress distribution.
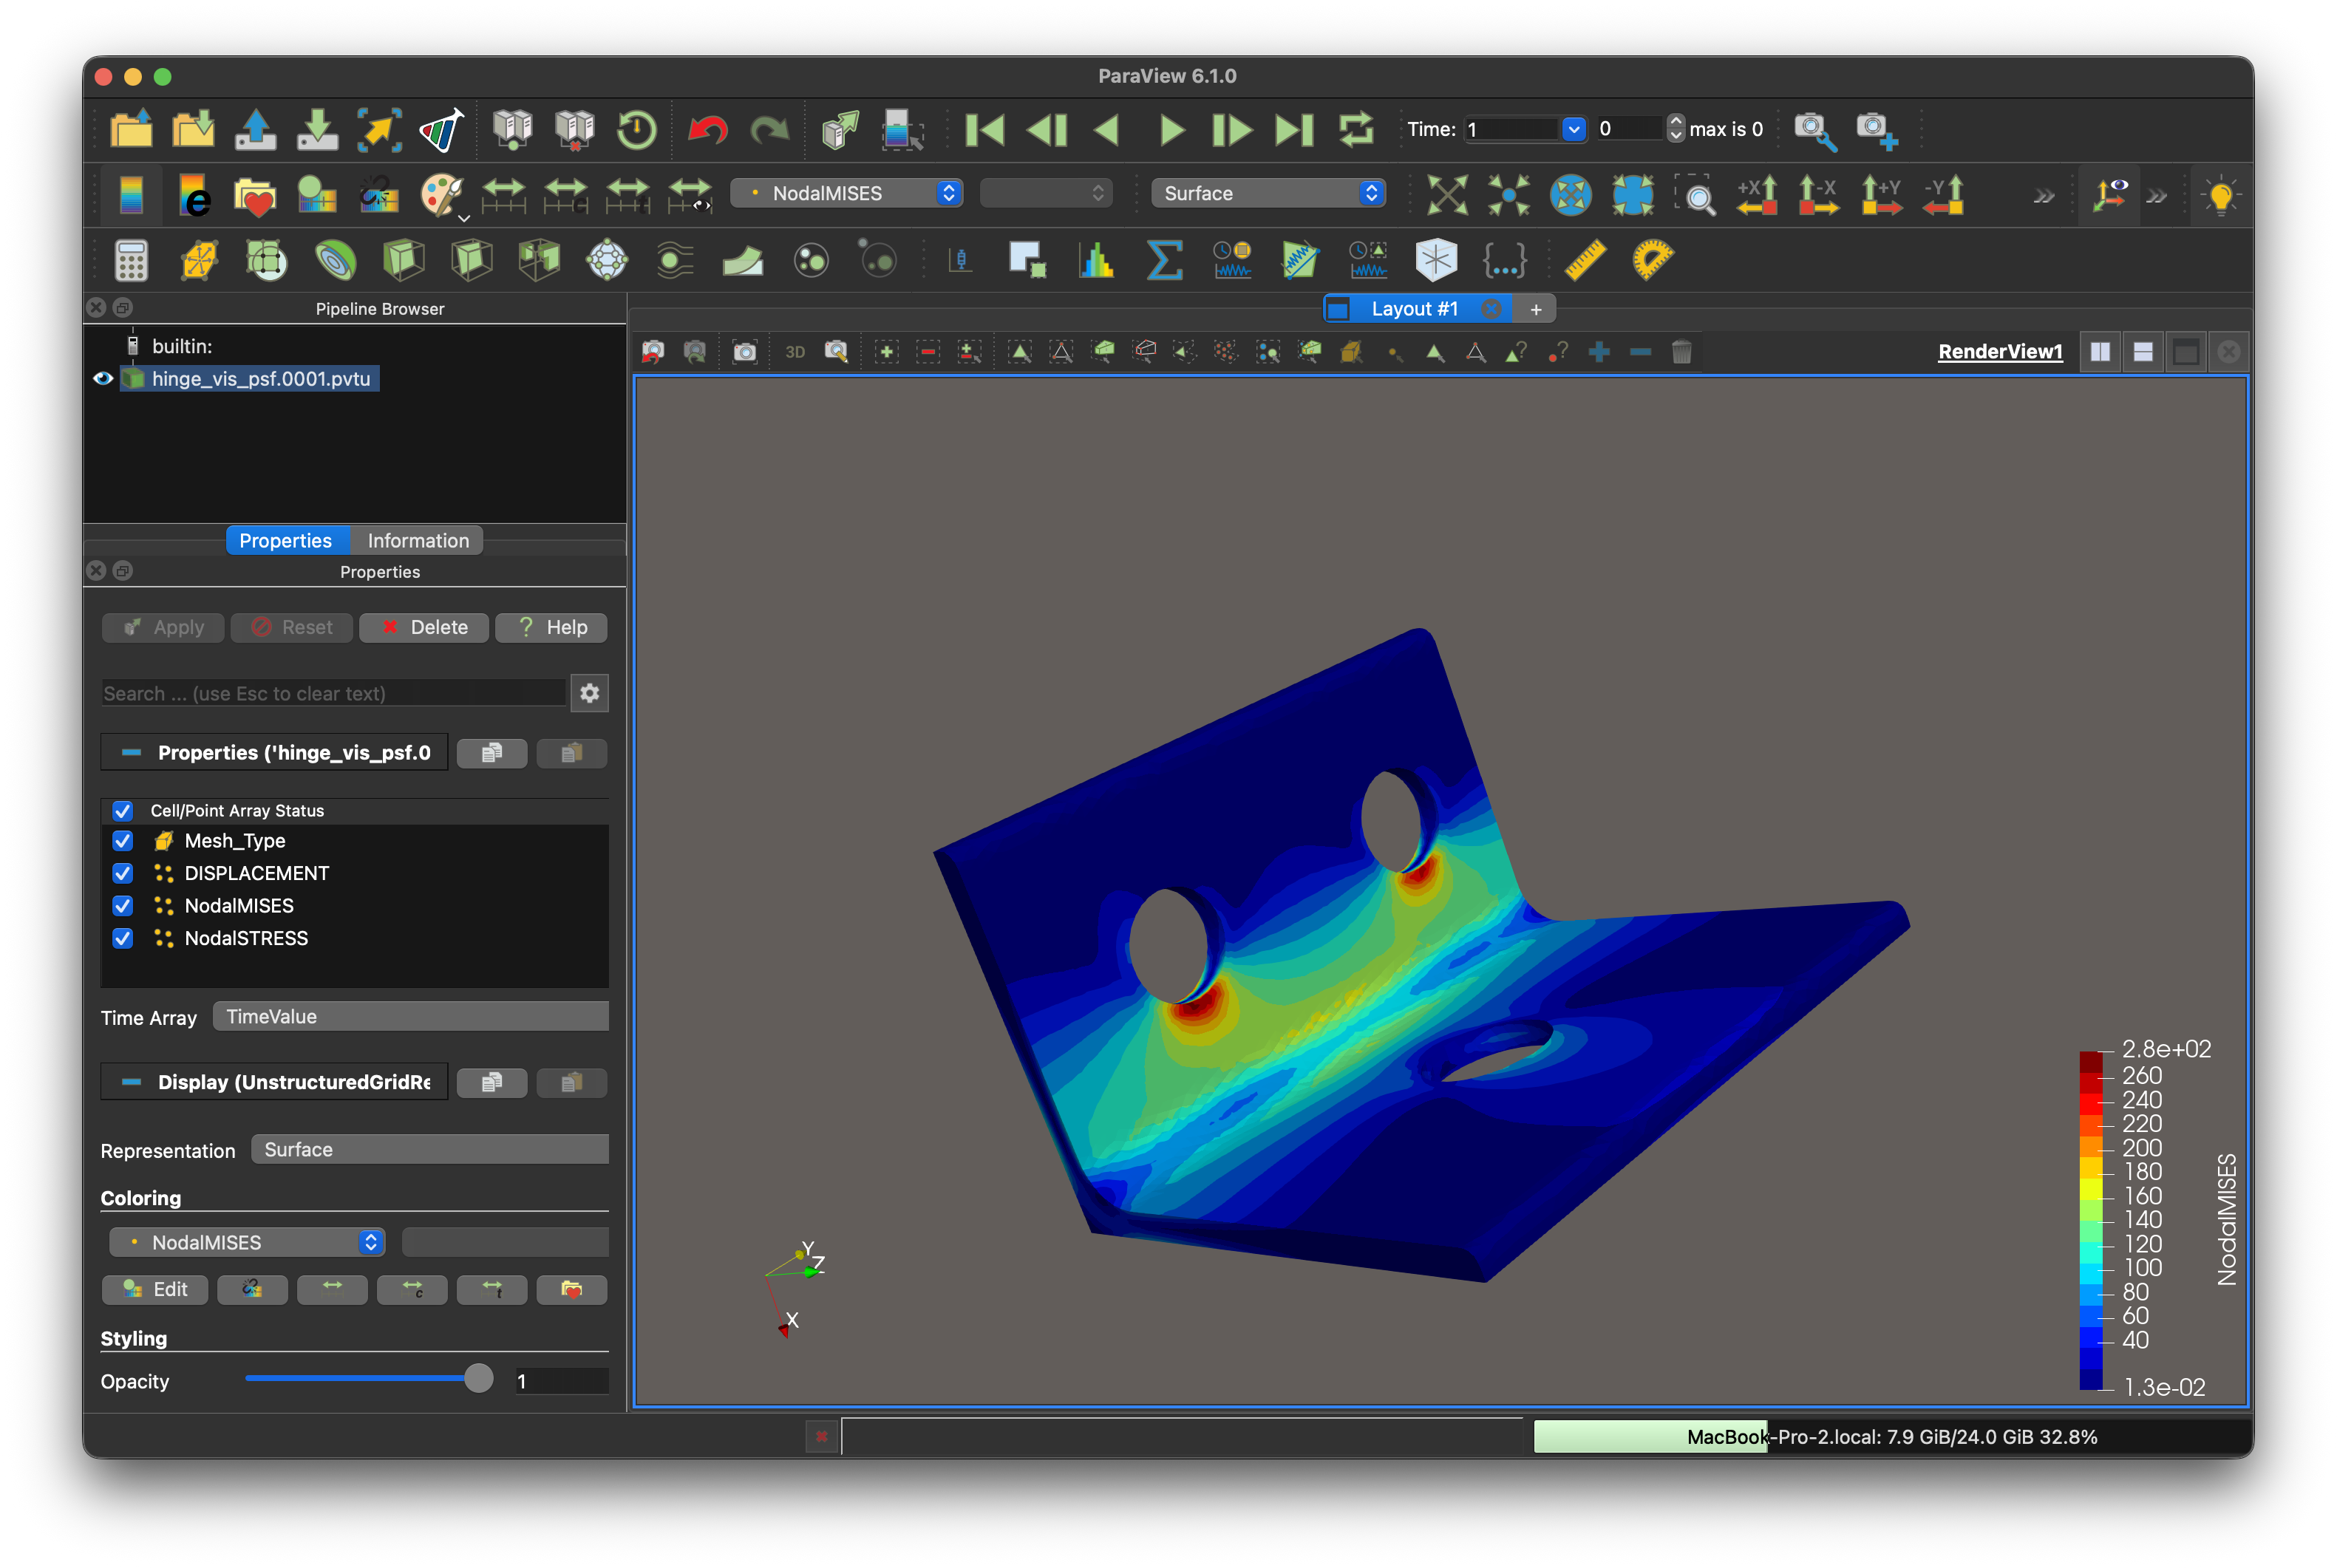
Colours and background depend on your ParaView settings; they do not need to match the illustration. If the model is out of view, try Reset Camera.
Your first analysis is complete
Next, explore the loads and material settings in the example. The manual explains this model and introduces other analysis types.